Bicycle Restoration the Burra Way - Part One

Step One - Do Nothing

Step One - Do Nothing
Bicycle collectors - we’re great doers. Part of what attracts us to bikes is the chance to fix and mend. The shed is our natural habitat, a comfortable nest of tools, tyres and tubes of various kinds. Curios of questionable taste rub shoulders with a frightening array of unguents, lineaments, acids, oils and waxes. When we’re not in the shed we gather in person or online to share our discoveries - from favoured rust removal solutions to the intricacies of cotter pin sizing.

Like the arrival of a baby the acquisition of a new old bike or frame is cause for celebration. But where the new child is swaddled, held, fed and fussed over our new bikes are dismantled, drenched in petrochemicals, subjected to the wire brush, scrubbed with vinegar, soaked in molasses, bead blasted, re-chromed and powder coated. And that’s just the start.

After a few years of frenetic vandalism the collector finally draws breath and asks “to what end?” It’s a great question and one that has been asked by students of history with increasing frequency over the past couple of centuries.

With just over 10 years in the club I’m pretty new to old bikes. While I’ve had the benefit of learning from club members and friends working in the museum and art collection world, it was a chance encounter with a South Australian bike enthusiast that got me interested in the Burra Charter, and its application to bike conservation and restoration.

Burra, population 900, is a South Australian town a couple of hours drive north of Adelaide. Copper deposits, for a short period in the 19th century, made it Australia’s biggest metals mine. A century later, in 1979, the heritage buildings inspired by the mine economy drew a group of architectural historians and heritage practitioners together for a conference that resulted in the Burra Charter, internationally the most significant set of guiding principles in heritage conservation of the modern age.

The Burra’s antecedents are the 1964 Venice Charter and the 1933 Athens Charter. The Burra is a set of principles and procedures associated with the conservation of Australian heritage places. So far, so architectural, so where do bikes fit in? I’ll answer that question with another question; why did we need a new heritage charter in the first place?

The Venice and Athens Charters were focussed on centuries old public monuments, palaces and parterre gardens. They had limited relevance to Australian heritage enthusiasts who were keen to preserve and celebrate modest, utilitarian buildings with much shorter histories.

A key feature of the Burra Charter is the acknowledgment and accomodation of the continued use of heritage buildings. This, to me, is what makes it so useful to collectors of old bikes.

Part of the joy of ownership of an old bike is in the riding of it. Bikes are made to be ridden; riding them is an expression of their purpose. Riding an old bike is an experience that engages our senses and feelings. It affords us a real opportunity to sense the past in a way that’s not available in museums which, after all, are mostly about looking and reading. I hope you will join me in saying the phrase ‘wall hanger’ has no place in our world. Anyway, back to the Burra Charter, which has at its heart the idea that mucking about with old stuff makes us better people.

“Heritage objects are worth keeping because they enrich our lives – by helping us understand the past, contributing to the richness of the present environment and because they will be of value to future generations.”

Another (edited) quote from the charter; I’ve substituted the word ‘place’ with ‘bike’.

“The Burra Charter advocates a cautious approach to change: do as much as necessary to care for the place bike and to make it useable, but otherwise change it as little as possible so that its cultural significance is retained.”

My first step with a new old bike is to do nothing. Well nothing that involves tools and solvents anyway. I make sure the bike is out of the weather of course.

And then get the camera and notebook out.

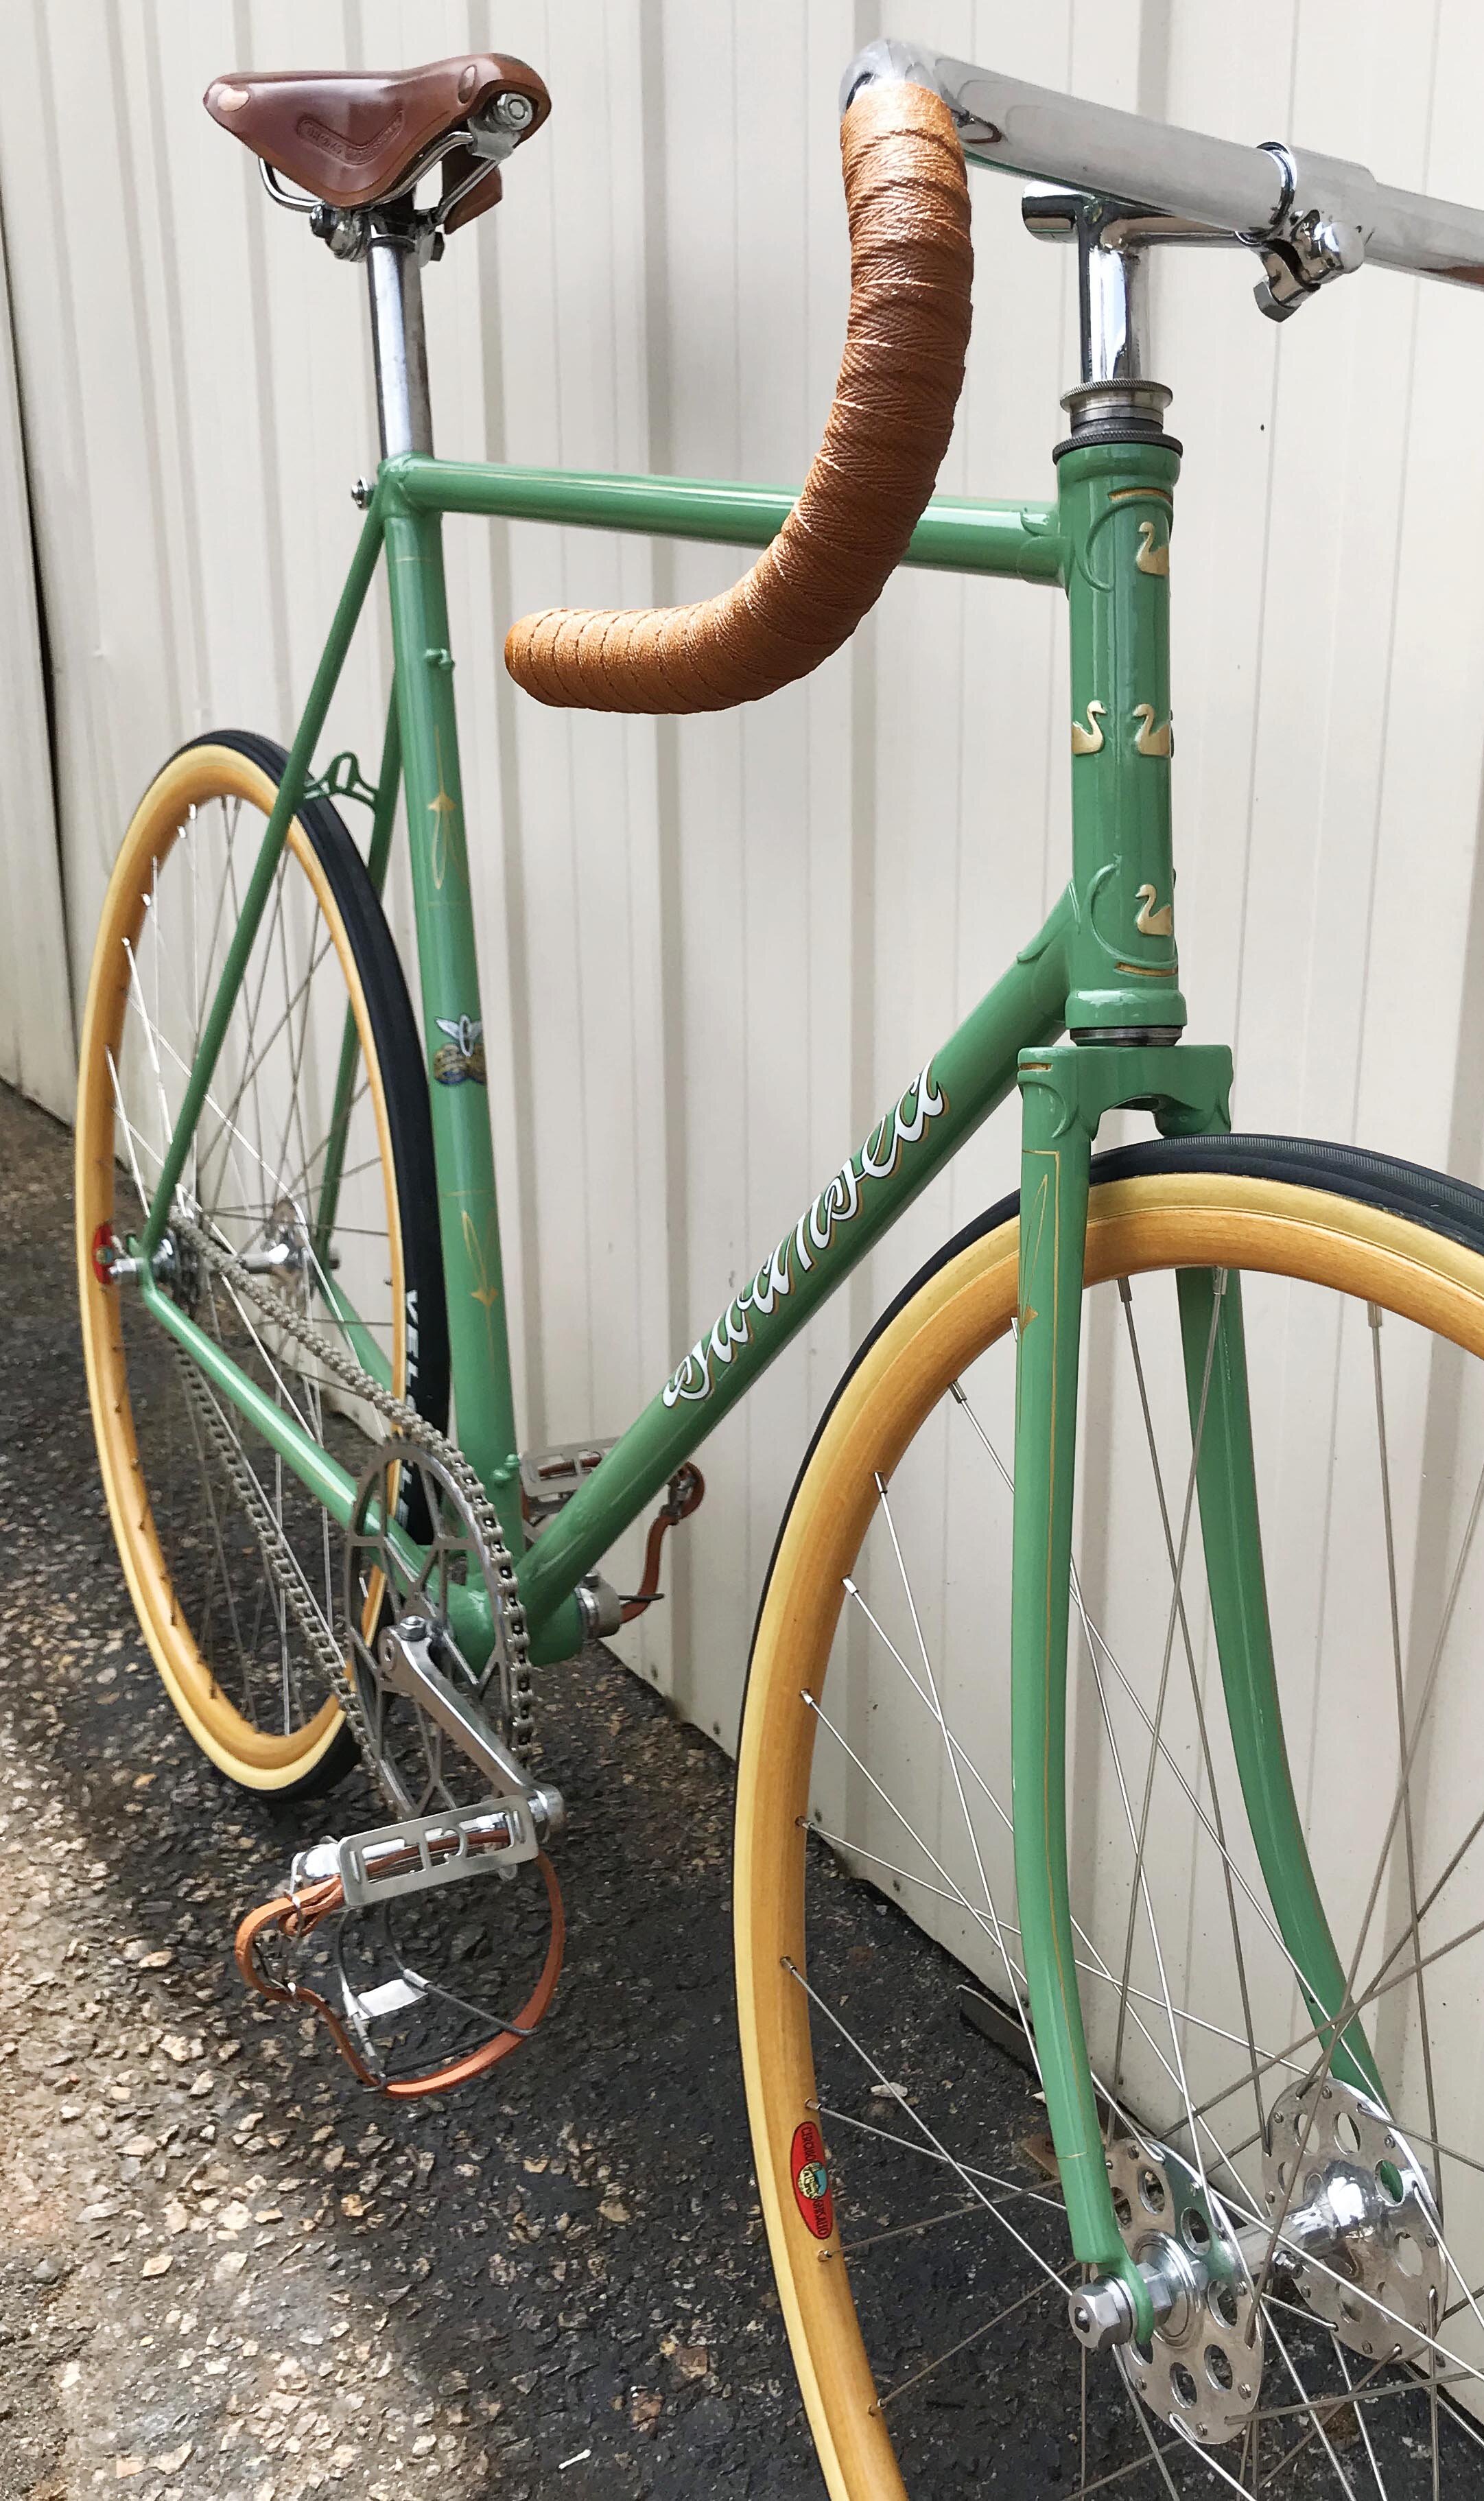
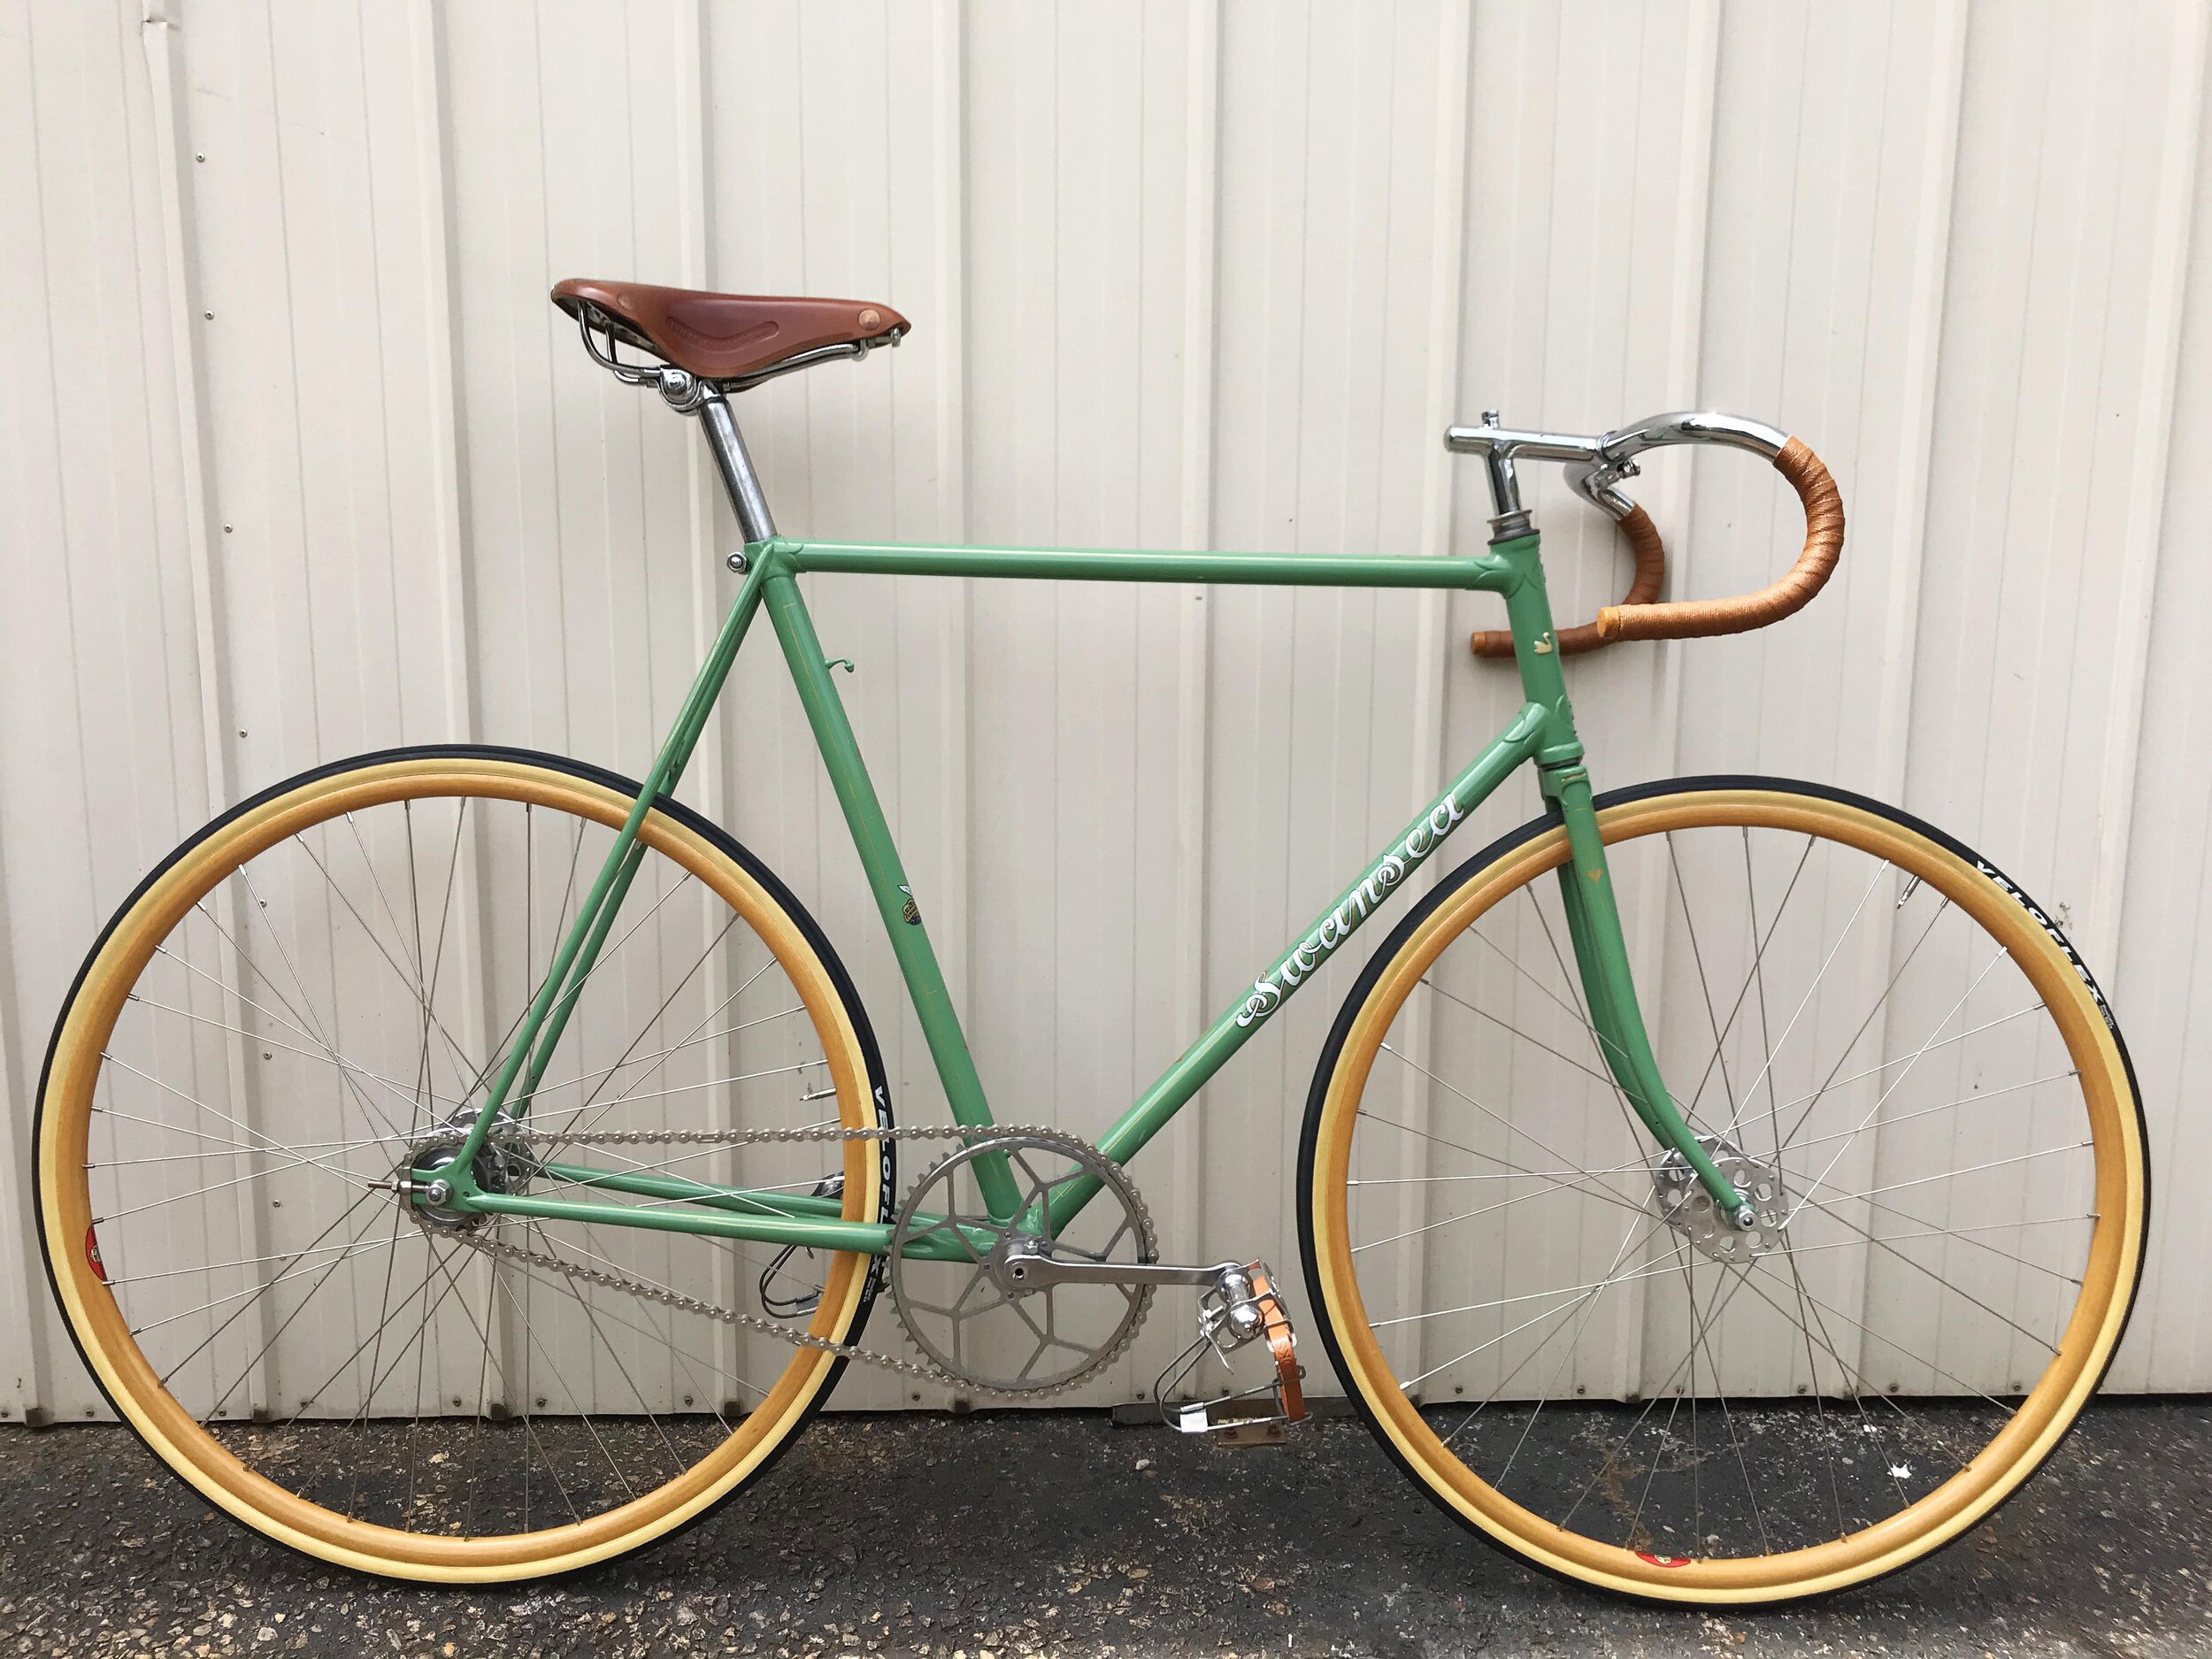
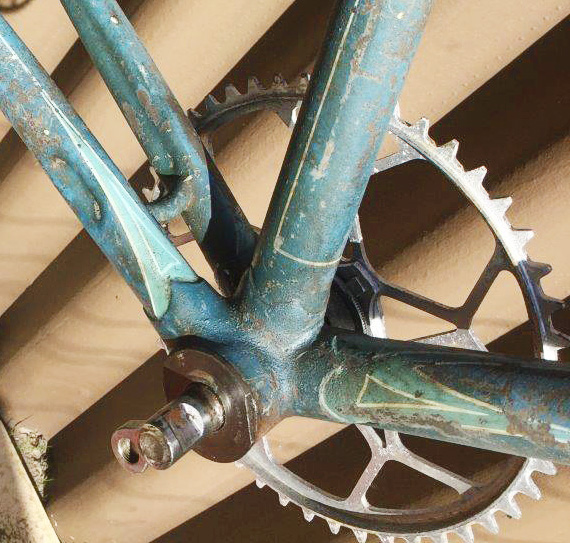
The bike is documented as found. A couple of overall shots in good light against a plain a background, followed by closer shots of drivetrain, braking components and the saddle. The emphasis is documenting the condition of the bike and should include photos of things like the frame number, paint detailing and any unique design features.

Establishing and recording the provenance of the bike is next. Provenance is the chronology of the ownership, custody, location and use of a historical object. Tracing provenance provides evidence for original production and subsequent use. A bike can be a lens that focusses attention on specific aspects of history and culture. The more we know about a bike’s past, the more valuable it is to us.

It isn’t always easy to establish provenance, in fact sometimes it’s impossible. But establishing some history of your new acquisition will really help you make decisions about your next steps. That history could include photographs, recollections of previous owners, newspaper clippings, and of course whatever can be gleaned from the machine itself.

The Burra Charter Process puts collection and analysis of information ahead of making decisions and getting on the tools.

Download The Burra Charter and check out Part Two in this series.

Robert Frith

Five Sparkling Swans

Never look a gift horse in the mouth, particularly when the thoroughbred in question is a Swansea 5-Swan. I was extremely grateful to be offered this racehorse as a restoration project. However, the old girl required a fair bit of dentistry to bring her out of retirement.

This Swansea is a 1941 model. A large frame with a 23.5 inch seat tube. The geometry suggested a track heritage, with a steep head angle of 78 degrees. The seat angle is relaxed at 70 degree, common for the day.

When I received the bike in 2014, it appeared rideable. The 52t Williams chain set, hollow TDC bottom bracket axle, Brampton headset and dome top seat post were clearly original, so were preserved, polished and remain on the bike today. The other components were modern add-ons, and were given away. The wheels went to another Swansea restoration project, and got that bike back on the road. That small gift repaid itself many times over, but more on that later.

The frame was powder coated yellow when I got it. This thick lacquer had done a good job of protecting the frame from the ravages of coastal living for many years. However, it also hid a troubled past. Close inspection revealed a bent top tube. The ATP stem, almost certainly original to the bike, was also twisted. Gentle sanding of the top tube revealed crash damage, a handlebar strike to the top tube, maybe a racing accident on a velodrome. The large dent had been well repaired with braze, but the frame was twisted. Shot blasting to remove the rest of the powder coat found further damage. There was long crack through the length of the indent in the non-drive chain stay. The frame was now clearly unrideable.

I now found myself at that well know fork in the road of restoration. We have all been there and the choice can be difficult. Turn left for preservation, or right for complete reconstruction. With the frame bent, cracked, and with no original paint to left save, the direction was clear…I put her out on the curb for the hard waste collection. 

Only joking. A bike like this was too important. So I began the process of trying to discover what a new Swansea would have looked like in 1941. What components were needed to get this bike back to “As new” condition? I also sold one of my kidneys.

Original printed information about Swansea is not easy to come by, particularly regarding paint. I visited quite a few Swansea’s with original paint, to get some ideas, but their art deco styling wasn’t for me. I did have some luck along the way though. During a visit to see the Swansea at Mercer Cycles in Freo, I got chatting with the owner. He was selling a collection of vintage bike parts for a friend, and let me buy an identical pattern ATP stem and handlebar to replace the damaged one that came with the bike. After a further six months of getting nowhere, a chance conversation at the club house changed everything. A guy living a few streets from me was after a pair of wheels for a Swansea he had just found. I offered him my wheels and we arranged to meet. It was love at first sight…not with Gary, but with the paintwork on his bike. 

Things were moving again now. Peter Campbell carefully repaired the frame. The top tube and chain stay were replaced. Also, the drunken attempt to drill a hole in the fork crown for a front brake was filled. Cameron Smith resprayed the frame and hand painted the pin stripes and artwork, copying the original design from Gary’s bike.

The search for components was now focused on wheels. Another six months of eBay watching went by, but no Australian made hubs came into VEW. So I settled on a pair of drilled Harden “bacon slicers”. I had read somewhere that 500 pairs of these were exported to Australia, and that was good enough for me. I had my heart set on wooden rims, so a pair of Cherchio Ghisallo pista rims were ordered from Italy. These are still made by hand in the traditional way on the shores of Lake Como. Poetry to my ears and eyes, but doggerel to my wallet.

Harden Hubs are drilled for 15g spokes, but these are not easy to find in Australia. The thought of drilling out the hubs to 14g was too frightening. So I called on some old friends in the UK to help me out. Soon, shiny new stainless steel 15/17g double butted DT Swiss spokes had made their journey half way around the world to my shed. When they arrived they didn’t fit. They seemed to be too long. I was furious with myself. What had I done wrong? Ghisallo rims are supplied with special 1 inch nipples, longer than usual, to pass right through the thicker wooden rim. But what I hadn’t realised was that these nipples also have an unusually long 15mm internal thread. Standard DT Swiss nipples have an 8mm internal thread. DT Swiss spokes have a 10mm thread. I had measured up for a standard wheel build, with the spoke ends aiming to reach the nipple head. But this could not happen with the longer nipples, as the extended internal thread fouled the spoke, locking them up 5mm short of the nipple head. Having struggled to get any spokes at all, I decided to drill out the extra 7mm of thread from the inside of each of the 72 long nipples, a task I performed with a Dremel and X-rated language. In the end, the decision was a good one. In fact, the spokes were the correct length, and the wheel build was easy after that. The rear wheel was finished with an 18t BSA sprocket to give a reasonable gear.

The bike is dressed with gum walled tubulars, a honey coloured Brooks Professional saddle, a Brooks chrome seat clamp, Chater Lea Sprint pedals and Brooks leather toe straps. Newbaum yellow cotton bar tape was treated with about 25 coats of shellac (pre-mix bottle from Bunnings), until the colour matched the saddle. Cork bar ends came from the local brewing shop, only requiring a little bit of shaping for a good fit. These were also coated with shellac. New old stock 1940s chain tugs secure the rear wheel. Custom machined T-washers secure the front hub in the keyhole front fork dropouts. A modern silver chain was a practical choice, but looks fine. For a final flourish, and to complete this patriotic green and gold Swansea, the toe clips are Cyclo Oppy. 

The build has taken 5 years, on and off. The majority of the time was spent worrying about the correct thing to do. Some would say just ride it, and they have a good point; that is what a bike is for. But I felt a strong sense of responsibility to this bike, to the previous owner, to its history, to get it right… whatever that might mean. The bike now lives in the house; a stable is no place for a thoroughbred like this.

Will Bugg

A Frame Cleaning Solution

Raleigh_1975_20190324_3021s.jpg

You may be familiar with microcrystalline conservation wax as used by conservation technicians at the WA Museum.

It protects all types of surfaces including unpainted metal and, most importantly, protects an old bike’s patina whilst being completely reversible.

Evan Thomas, the man behind Becketts conservation wax, has kindly shared his recipe for a wax and grime remover.

I have used this on numerous projects now and I have found it to be an effective cleaner, yet reassuringly gentle on old paint and decals.

Be aware that white spirits can make some plastic containers go soft so either test first or use a container previously used for turpentine, acetone, white spirits etc.

4 parts white spirits 400ml
2 parts methylated spirits200ml
1 part vinegar 100ml
1/2 dish detergent 50ml
Shake before use and apply to surface, allow to dry and wipe down.

Frank West

Rustbucket for Rust Removal

I would like to share little a success story of a product I recently trialled called Rust Bucket.

After researching the product I was keen to try it out on a 1934 Swansea recently acquired from a fellow club member. 

The process of chelation which targets only iron oxide (rust) is common some of the other rust removal remedies and products out there. What really intrigued me was that Rustbucket is a pH 7 (neutral) product which is supposed to prevent flash rusting of the surface of the newly cleaned metal associated with other rust removal methods. So essentially there is a fairly large window to apply your sealers or paint without the fear of instantaneous re-rusting.

The manufacturer recommends a ratio of 1 litre of Rust Bucket powder to 5 litres of water. I built a frame shaped bath from scrap timber lined with plastic sheet which had a capacity of 20 litres. I halved the recommended dosage partly to assuage my fear of paint and patina loss and bought 2 litres of powder. At $43 a bottle it also halved the budget!

After 12 hours in the solution the results were surprisingly good, simply hosing off with water and voila!; once dried the frame was ready for waxing. I noticed that the solution was really dirty, so it did a fantastic in removing any rust and flaky paint.

Rust Bucket, by Action Corrosion http://www.actioncorrosion.com.au/product/rust-bucket-safe-rust-removal-bath/
Colin Proctor